Effects in GIMP
These are some of the many effects that can be done with GIMP. Most, if not all of them were techniques I discovered on my own. I hope they can be of some use to you. Enjoy!
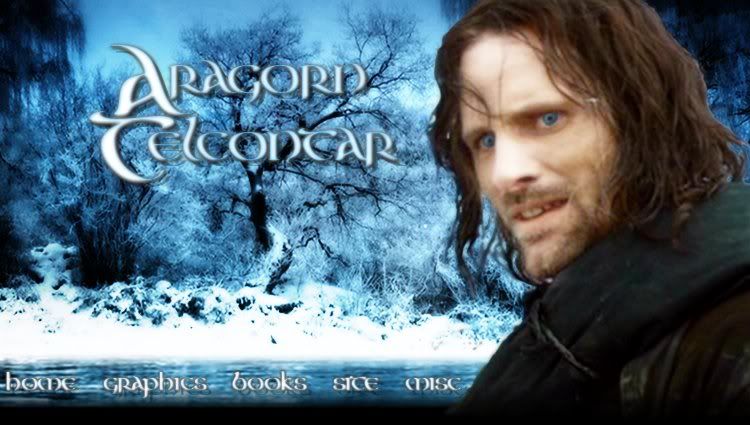
Overlay Mode
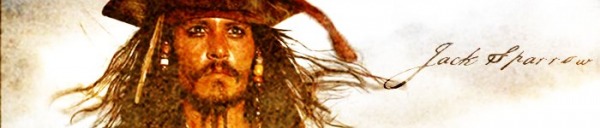
In this banner I created, you can plainly see that parts of the image are darker than others. The window-looking thing at the right, is actually the base image. What I did was add a new layer [Layer > New Layer] in the GIMP dialog toolbox. I then used the square tool to put a box over most of the image, leaving a largish border. I then filled the box with black and set the layer mode to Overlay. [Layer modes are in the Layer dialog box.] Then I created a square eraser and erased parts of the darkened box, like the window and Aragorn's face. Then I added text. Voila!
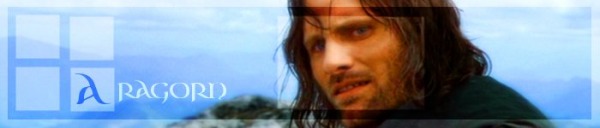
Softglow Effect
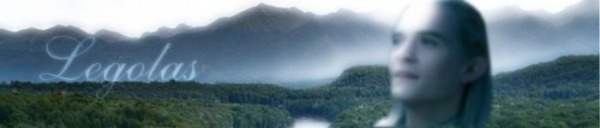
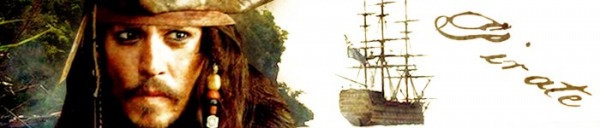
In this banner, the main and most visible effect is softglow [Filters > Artistic > Softglow]. You can play around with the settings to get the perfect glowing effect. (The text is actually white, but that layer was put into Overlay mode [see first tutorial]). I pasted Legolas into the picture and did the same softglow effect with him. I also toned down the colors a bit [Colors > Hue-Saturation]. Have fun with this new technique!
Playing with Textures
There are different ways to use textures. One is to create a new image (texture) and add a new image layer. Then you would put that layer into Overlay mode and the result would look something like this: (see below)
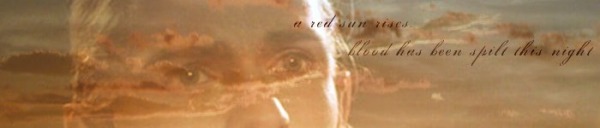
Or if you would duplicate the layer in Overlay mode a few times, the result would be something like this: (see below)
An alternative method would be to have the main image as the background and add the texture on top. then to put the layer into Overlay mode. The result would be like this: (see below)
There! Now you know a little bit about how to use textures. If you have any other questions, use the Guestbook to ask me!
